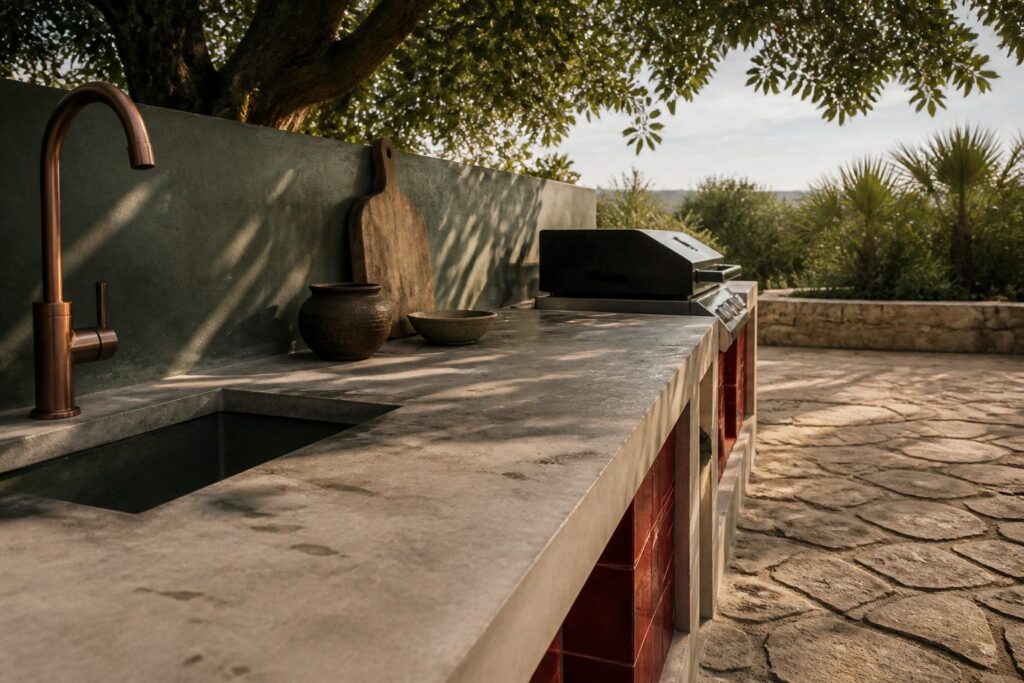
Microcement is a 2–3mm cement-based coating that bonds directly over tile, concrete, or cement board to resurface an outdoor kitchen without demolition.
The finish is waterproof and UV-stable once sealed, but it cracks if the base flexes or holds moisture, so surface preparation matters as much as the material itself.
[link-whisper-related-posts]Surface Preparation
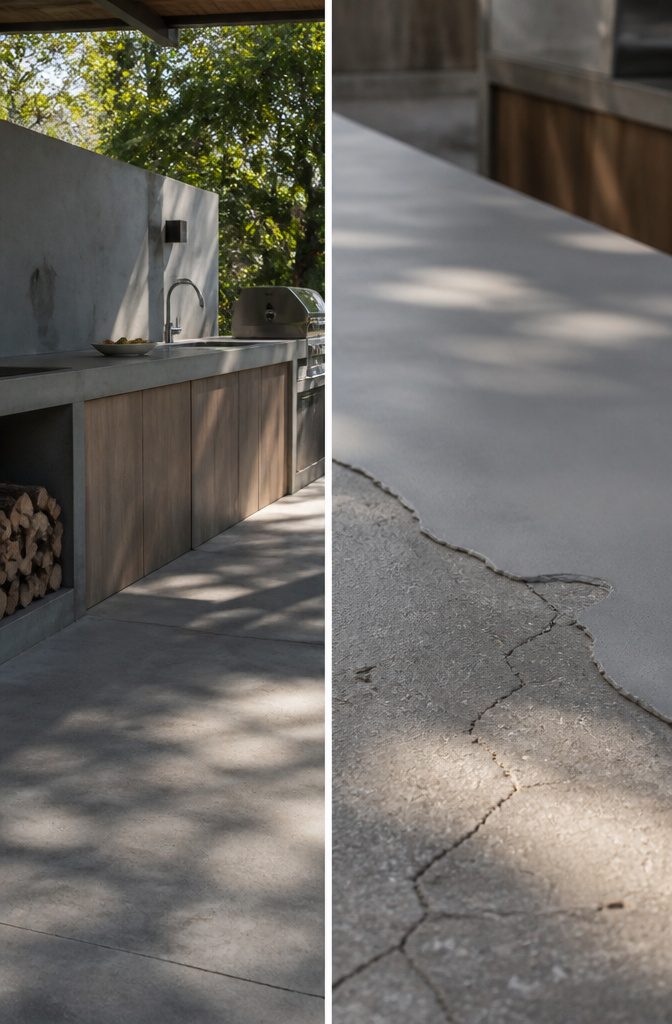
Microcement bonds directly over tile, concrete, and cement board, which is what makes it practical for resurfacing an existing outdoor kitchen without tearing anything out. The surface underneath has to be right, or the finish cracks later.
Existing cracks telegraph through a 2–3mm microcement layer, so concrete needs patching and tile needs every loose piece removed.
I would skip any surface that flexes or holds moisture; microcement is waterproof once cured, but it needs a dry, stable base to adhere to.
For vertical areas like backsplashes, the same 2mm multi-layer build-up applies, and the prep matters just as much.
Degrease first, then check for hollow spots by tapping. A weekend project turns into a redo if the base is rushed.
Base Coat Application
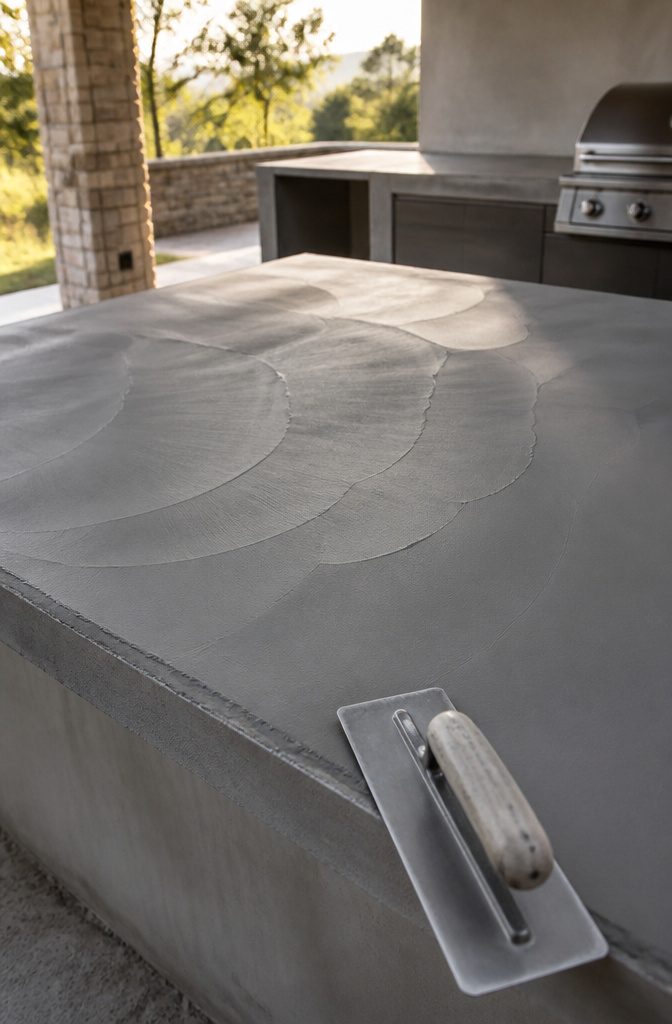
The base coat sets the working time for the whole finish, so mix only what you can spread in 20 minutes. Microcement goes down thin, usually 1–2 mm per layer, and the base coat is no place to skimp on coverage.
A steel trowel held almost flat to the surface moves the material in overlapping arcs, working from the wet edge backward so you do not trowel over skinned-over patches.
Uneven spots in the base coat telegraph through every layer above them. I would rather spend an extra 10 minutes on this coat than sand down a high spot after the second layer and risk exposing the mesh beneath.
The color at this stage looks nothing like the final tone; microcement lightens as it cures, and the base is deliberately pigmented to guide your eye toward full coverage rather than to match.
Let the base coat cure to a matte, uniform finish before the next pass, typically overnight in dry weather.
Touching too early leaves fingerprints that become permanent texture. If the surface still looks glossy or tacky in patches, those areas are wetter than the rest and need more time.
Rushing the base coat is the mistake that shows up two weeks later as delamination, and at that point you are stripping back to the primer.
Building the Layers
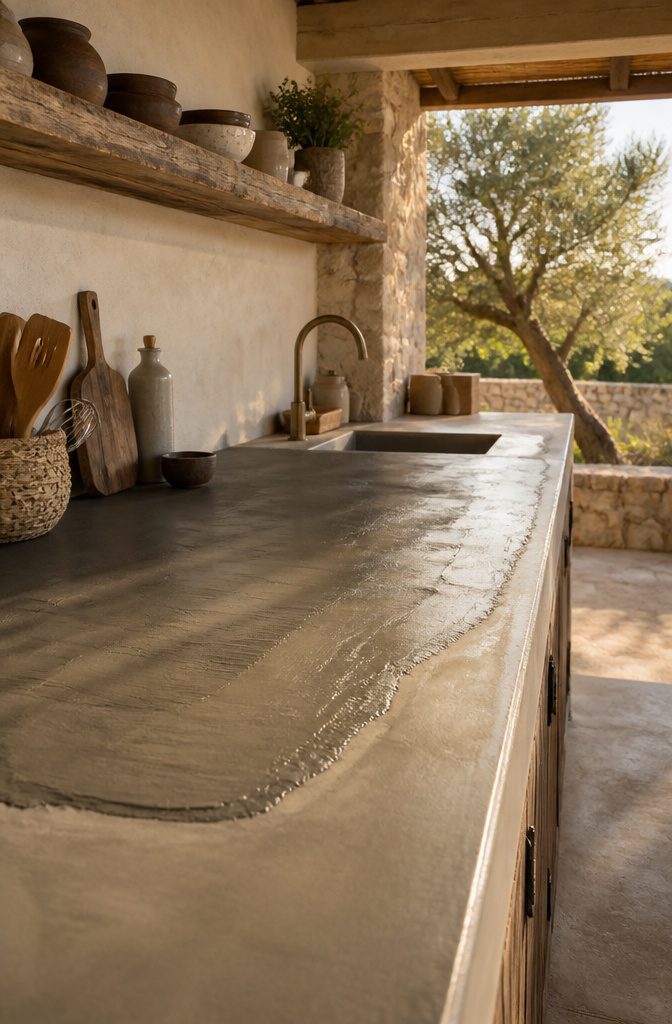
Each layer of microcement goes on at 2–3 mm, and that thin build is exactly why resurfacing an existing outdoor kitchen skips demolition entirely.
Two to three coats is the usual range, which lands the total thickness between 4 mm and 9 mm depending on the substrate and the finish you’re after.
The first coat fills and grips, the second evens the field, and a third is where you start refining the texture.
I would stop at two for a vertical backsplash or face panel, but horizontal work around a grill or sink needs that third pass for the wear it takes.
The acrylic plaster in the mix sets up a strong bond across layers, so the limit is really the edge detail and whether your forms can hide the build-up.
Go too thick in one shot and the surface cracks; build in stages and the whole system stays flexible enough for temperature swings.
Sealing for Weather
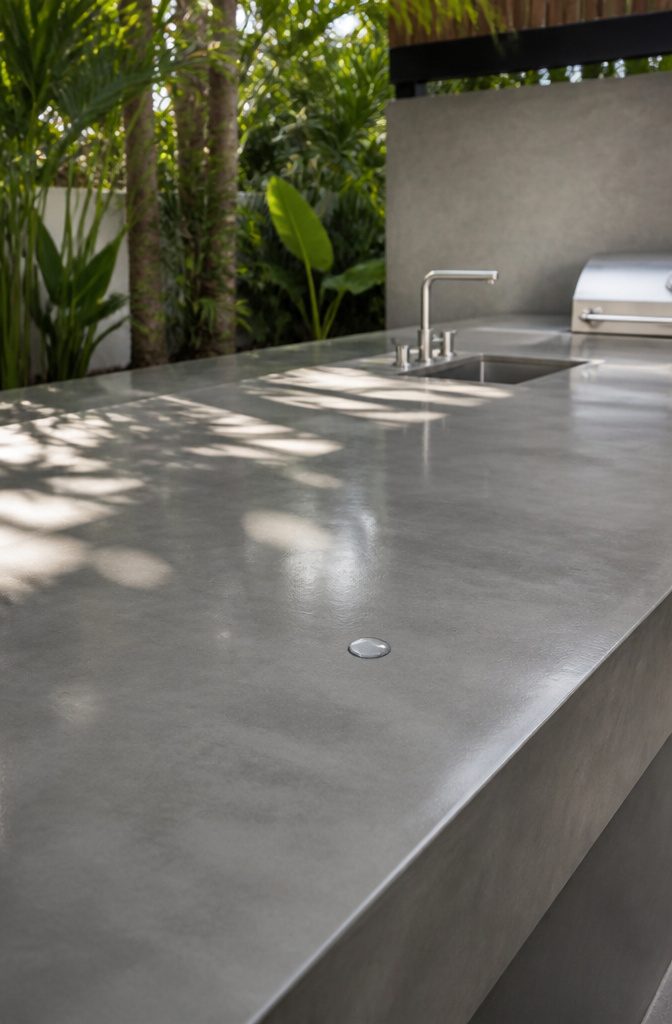
Microcement arrives waterproof, which surprises most people the first time they hear it.
The material itself blocks water, so the sealing step is not about keeping rain out. Outdoors, the sealer’s real job is UV resistance and stain protection, two things the raw surface does not handle on its own.
I would skip any sealer marketed only for indoor use, no matter how glossy it looks in the can.
Sun exposure fades color and breaks down finishes that were not formulated for it, and an outdoor kitchen sees grease, wine, and food oils that stain fast on an unsealed surface.
The right top coat buys time to wipe up before the mark sets.
A UV-resistant sealer also slows the chalking and color shift that happens over seasons.
Reapplication is part of the deal: most systems need a fresh coat on a schedule the manufacturer sets, and I would plan for that the same way I plan to clean the grill.
That smooth surface already wins on maintenance, since there are no grout lines holding grime, but that advantage only holds if the sealer stays intact.
Curing Before Use
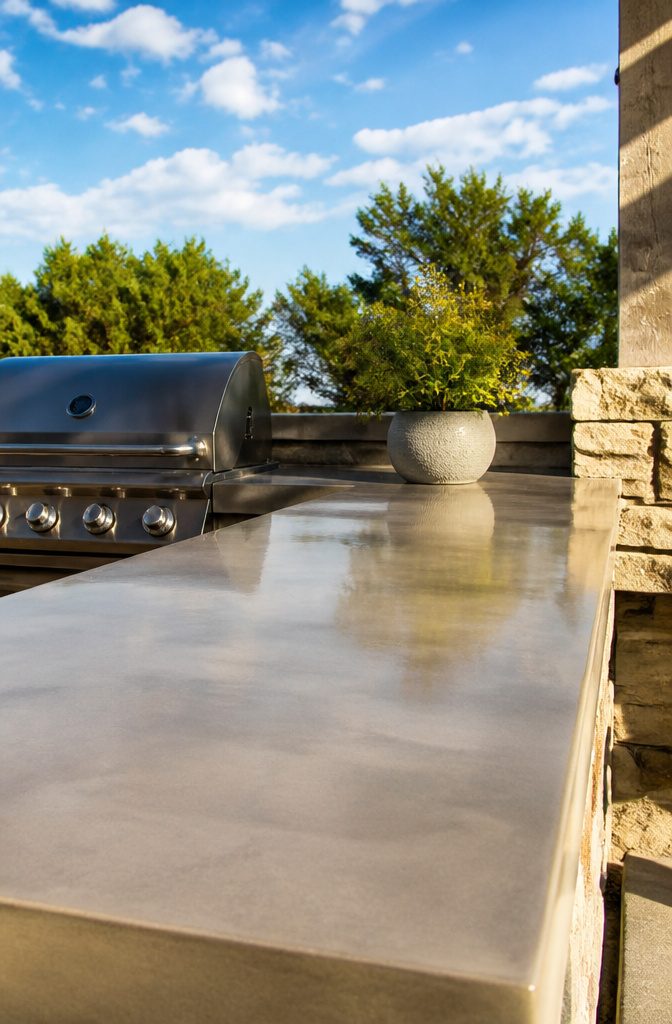
Microcement needs 24 to 48 hours of undisturbed curing before you set a single plate on it.
During that window the cement hydration reaction is still active, and the surface remains vulnerable to impressions, scratches, and water spots that will never fully disappear.
I would rather delay a weekend dinner than live with a countertop that carries a permanent record of my impatience.
Wet microcement has a slightly cool, tacky feel under a dry palm and retains a darker, damp-looking tone even where the surface seems dry.
Cured microcement turns uniformly lighter, feels room temperature, and takes on a faint waxy smoothness if you sealed it properly.
If you are unsure, press a piece of masking tape onto an inconspicuous corner and peel it slowly; on fully cured material it lifts clean, but on uncured microcement it will pull up a cloudy film of binder.
That test has saved me from mistakes more than once.
Rushing the cure does not just risk cosmetic damage. Any load or spill introduced too early interrupts the hardening process at the depth where it matters, leaving a weak layer that will craze or flake under thermal stress later.
The finish may look fine for weeks, then fail the first time you set a hot grill tray where it was compromised.
Countertops and Surfaces
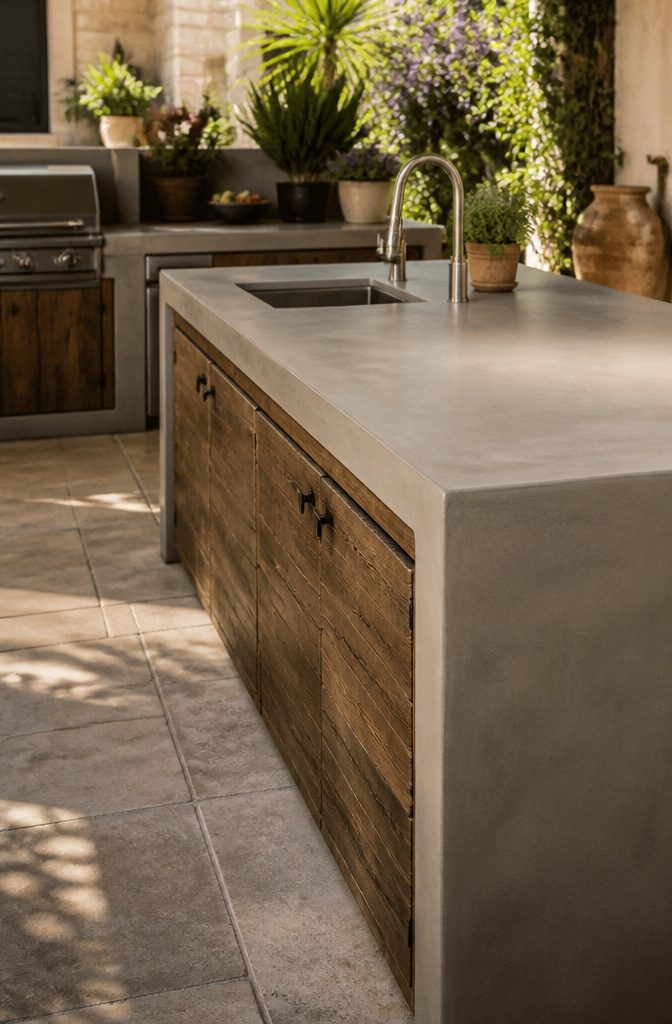
A microcement countertop is 2–3 mm thick, which means you can resurface an existing outdoor kitchen without demolition in most jobs.
That thin layer goes down smooth, so there are no grout lines around the grill to scrub, no joints where grease settles, and no gaps for moisture to creep in.
The surface is fully waterproof even before sealers go on, and the exterior-grade sealers handle sun, rain, and temperature swings after that.
The same finish wraps from the counter down the island face and across bar seating, or up the wall behind the cook space as a backsplash.
One tone, top to bottom, ties the kitchen to the patio and pool deck so the whole backyard reads as one continuous space.
It adheres to block, concrete render, cement board, or existing counters, which gives real flexibility if you are finishing a new build or updating an old one.
Heat tolerance matters around built-in appliances, and microcement handles it, but the real win for me is the cleaning.
Sweep it, damp-mop with a neutral cleaner, and the surface stays uninterrupted. No grout to reseal, no porous concrete to stain.
The foundation matters: microcement needs a strong, dry, stable substrate. Existing cracks telegraph through, so I would not apply it over a damaged base without fixing it first.
Cabinetry and Islands
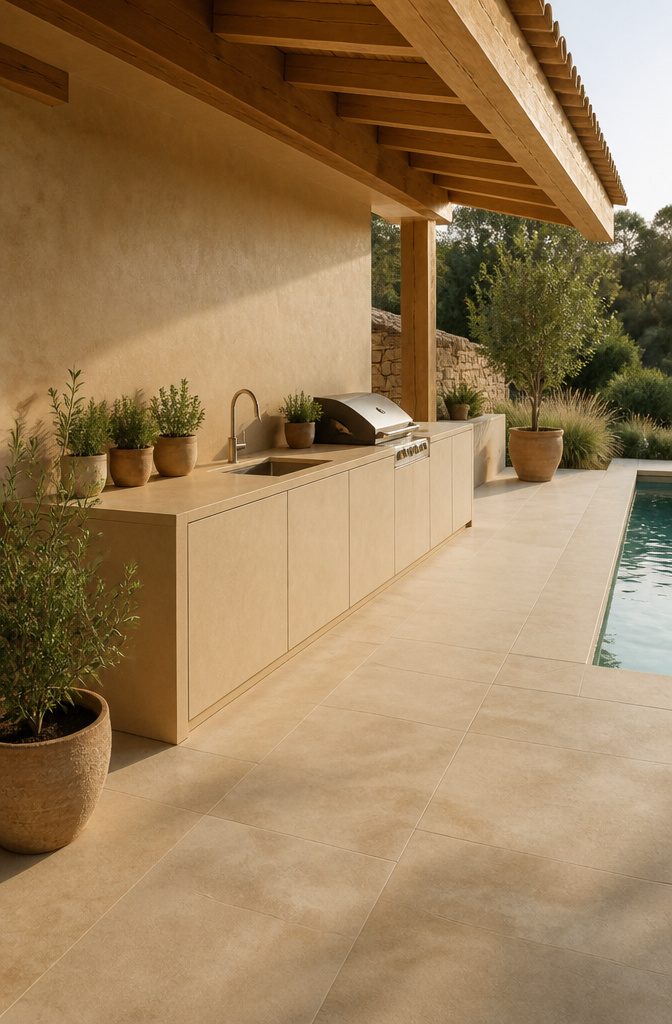
Microcement-clad cabinets come in enough colors that matching the patio or pool deck feels straightforward rather than lucky.
The same material wraps vertical cabinet faces and horizontal countertops at 2–3mm, so the kitchen reads as one continuous piece instead of assembled parts.
That unified look works because microcement bonds to block, cement board, or existing counters with the same adhesive layer. Outdoors, the difference is the sealer.
Exterior-grade sealers handle sun, rain, and temperature swings, and the better microcements are waterproof even before that topcoat goes on. Without grout lines, there is nothing to scrub around the grill base or island edge.
I would skip trying to match the finish to interior concrete floors. Backyard light is harsher and the color shifts by hour; a tone that looks soft at 10 a.m. reads flat at 6 p.m.
Pick something slightly warmer than you think you want, and test a small board outdoors for a full day before the crew covers the cabinets.
Backsplashes and Walls
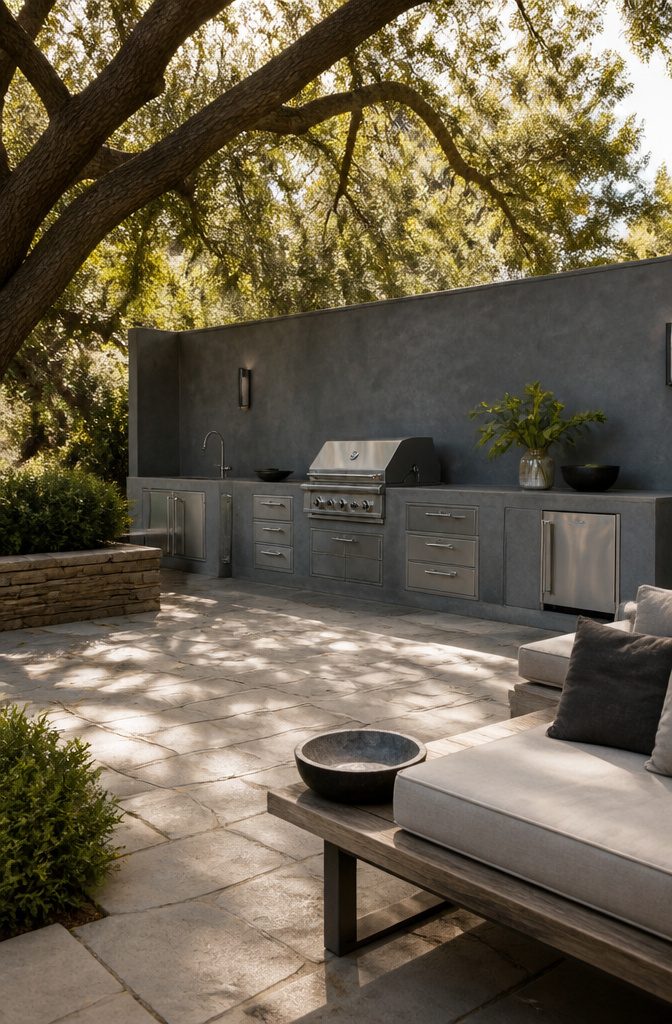
Vertical microcement turns the usual patchwork of materials into one continuous surface.
A backsplash in the same mix as the counter reads as a single piece, and carrying that finish up a full wall behind the cook space keeps the eye moving instead of stopping at every joint.
The coating goes on at 2 to 3mm, thin enough that it adds almost no weight but still builds a waterproof, heat-resistant skin over whatever is underneath.
Tile, block, or existing drywall all take it, which matters in an outdoor kitchen where the backing might be anything from new construction to a retrofit over old patio walls.
Movement is the problem.
Microcement is crack-proof once cured, but it telegraphs whatever shifts beneath it. An exterior wall that flexes with temperature swings, or a backsplash over a substrate with existing cracks, will eventually show that stress in the finish.
I would not microcement over anything I had not first checked for stability, and on a full wall I would rather add a backer board and start clean than hope the old surface stays put.
Sealed for the outdoors, the finish handles sun, rain, and the heat coming off the grill without changing color or breaking down, but the seal is the last step and the one most DIY timelines rush.
Give it the full cure before you fire up the burners.
Outdoor Furniture and Seating
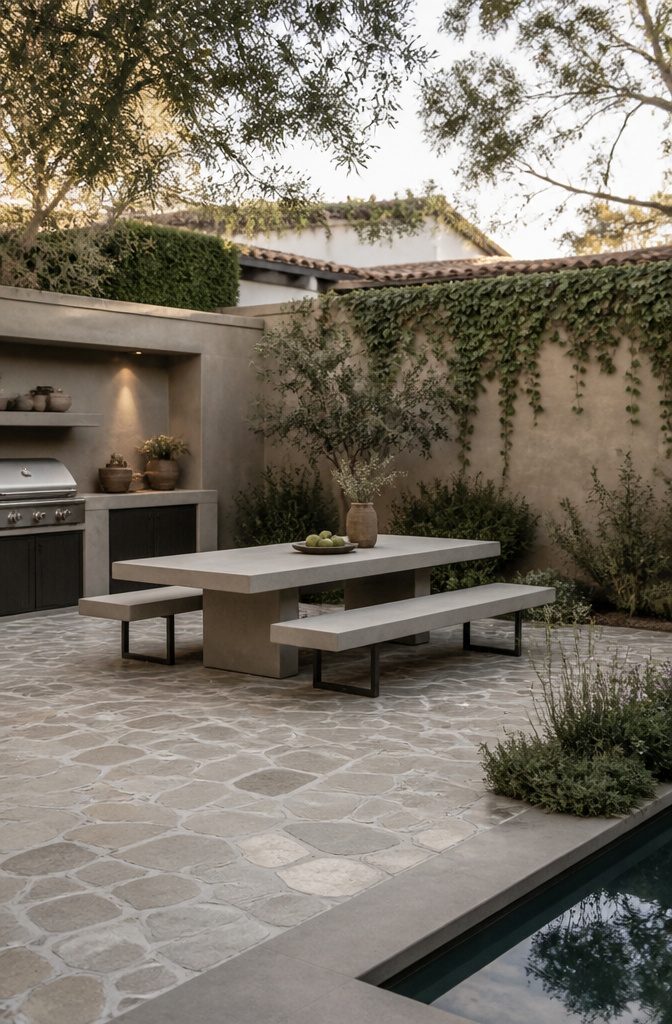
The same microcement that works on your outdoor kitchen counters can carry straight through to tables and seating, which is where the material starts to earn its keep socially.
A microcement table top gives you that smooth, stone-like surface without the weight of actual stone, and the color range runs wide enough to match whatever you built the kitchen in.
I would keep the finish consistent between the cooking zone and the eating zone; the visual flow matters more out here than people think.
For benches or built-in seating, microcement forms over a stable substrate, so the structure underneath does the heavy work while the surface handles weather and spills.
The underside is the problem. Microcement is waterproof once sealed, but moisture that collects underneath and has nowhere to go will find a way to cause trouble.
Sloped framing, drainage gaps, or simply choosing pieces that sit on legs rather than ground-hugging plinths solves this. I would skip any design that traps water against the bottom face.
DIY kits exist for this, running from primers through sealers, and the training videos that ship with them mean you are not guessing at trowel angles.
If you are already mixing batches for the kitchen counter, extending the same system to a matching table is minimal extra effort for a cohesive result.
Durability and Weather Resistance
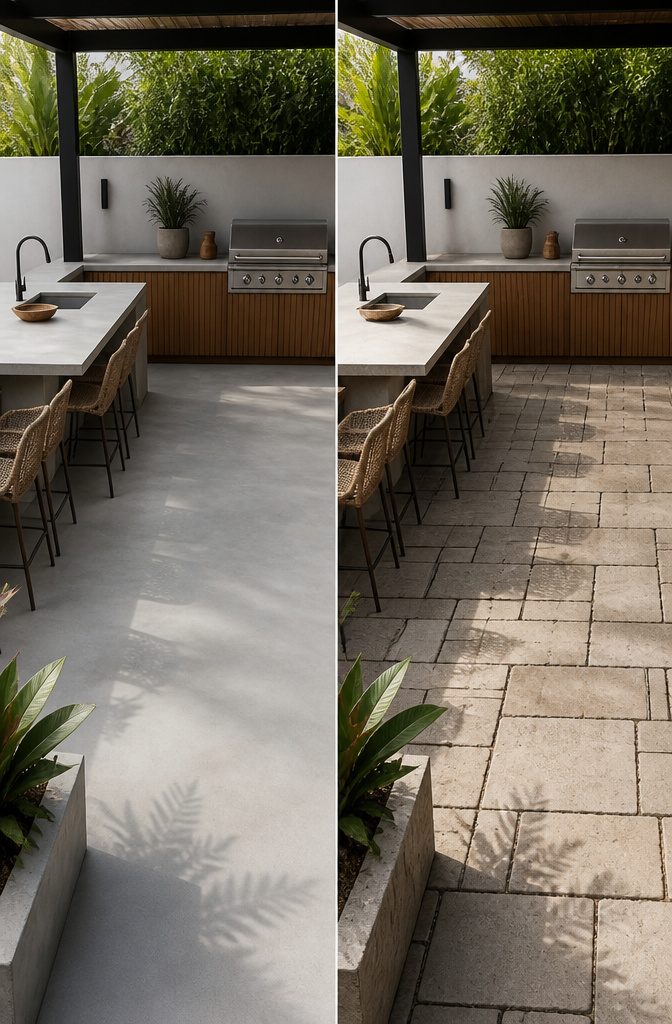
Microcement holds up to heavy foot traffic and full exposure to sun, rain, and temperature swings without the maintenance headaches that undo other outdoor materials.
The finish is crack-proof and UV-stable, so it will not fade or chalk the way painted concrete does after a few seasons.
Unlike tile, there are no grout lines to trap grease or mildew; unlike bare concrete, it is non-porous and resists stains and mold.
It also tolerates the warmth around a grill well, though I would still use trivets under hot pans and keep direct flame off the surface.
The foundation is where it goes wrong. Microcement needs a strong, dry, stable base to adhere to, and it is only as sound as what sits beneath it.
Existing cracks in the substrate will telegraph through over time, so the surface prep matters as much as the material itself. Applied at 2–3mm over a solid base and sealed with an exterior-grade system, it outlasts many alternatives.
Applied over a compromised slab, it will fail like anything else. For a weekend project on a real budget, I would spend the extra day getting the base right rather than risk redoing the whole finish in two years.
Maintenance and Cleaning
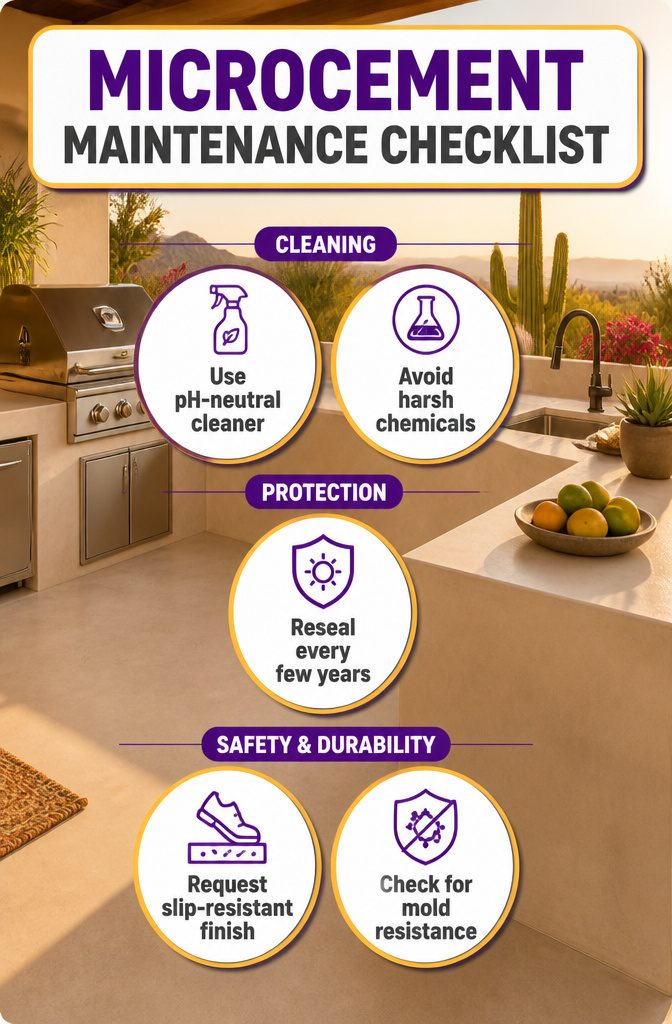
Microcement upkeep is where the material actually earns its keep. Most surfaces need little more than a pH-neutral cleaner and a soft brush to stay presentable; harsh or acidic products will strip the sealer and leave the finish porous.
I would skip anything marketed for heavy-duty degreasing on a patio cook space, since the same chemistry that cuts grill grease opens microcement to staining.
Resealing is periodic, not annual. The exact interval depends on how much sun and foot traffic your outdoor kitchen sees, but planning for every few years is reasonable.
A UV-resistant sealer matters here, especially in the Southwest or Florida where color fading becomes visible faster than wear does.
The slip-resistant finish is worth requesting during installation, not retrofitting later. Around a grill or outdoor sink, water and grease combine into a genuine hazard, and the certified non-slip microcements handle this better than polished concrete or tile.
Mold and mildew resistance is built into the material itself, so the usual outdoor kitchen scrubbing against grime is largely unnecessary.
Color and Finish Options
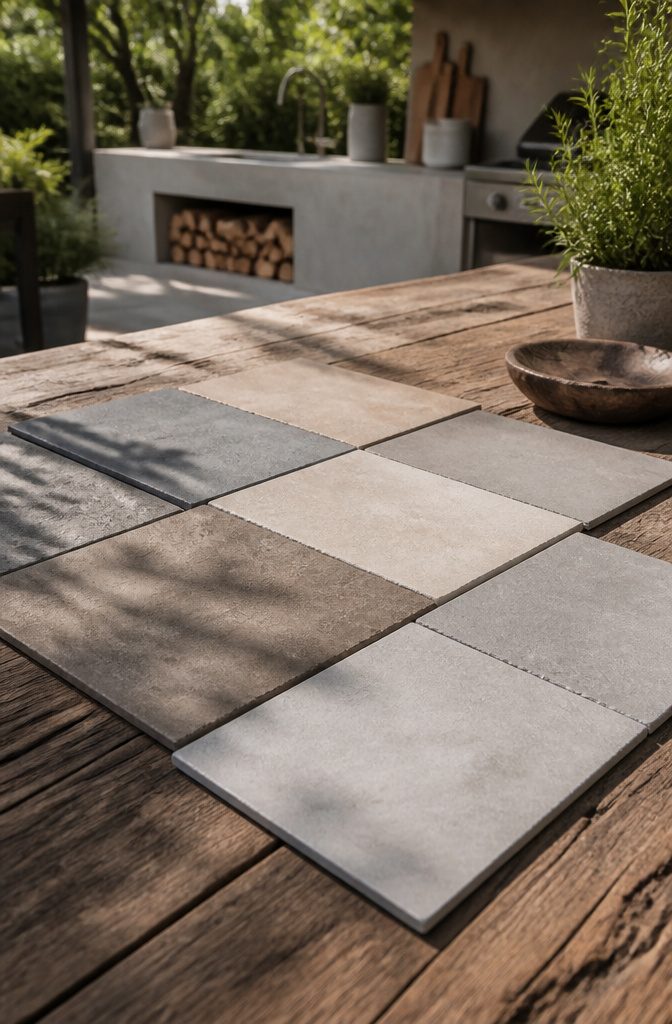
Microcement color runs wider than most outdoor materials, but the finish range is where the real choice sits.
The three standard options are Rustic with its large grain and textured natural stone look, Natural at medium grain with subtle tonal variation, and Refined, the fine-grain smooth finish that reads almost like polished concrete.
Rustic hides sins best, which matters on a hand-troweled outdoor kitchen where dust and water spots are daily realities.
For color, most suppliers work from a standard chart, and some will match RAL or Farrow and Ball colors for an extra fee. That sounds generous until you price it against buying a factory color off the shelf.
The thousands of combinations some kits advertise are technically true, but they come from mixing base colors with finish textures and sealer sheens, not from a wall of paint chips.
In practice, you are choosing from perhaps two dozen base pigments and deciding how much of the aggregate texture you want showing through.
No two applications look identical, even from the same kit.
Hand-troweled microcement carries variation by nature. I would skip trying to match an indoor kitchen countertop exactly; aim for harmony instead, maybe a shade lighter or darker than the house trim so the outdoor space feels related but not copied.
When to Call a Professional
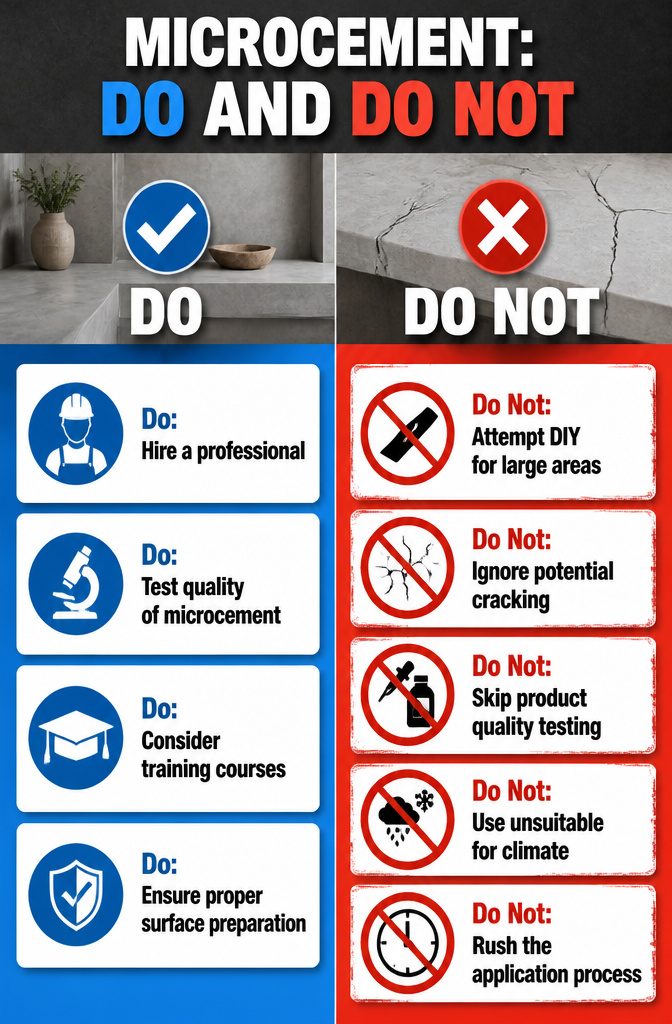
Microcement application is a specialist process that requires time to perfect, and the risk of cracking from improper application outweighs the savings for most weekend projects.
A DIY kit can handle a small side table or planter box where flaws are hidden and replacement is cheap.
For an outdoor kitchen countertop or island, the surface area, the need for a stable base, and the layering technique all multiply the ways an amateur coat fails.
The product itself varies widely in quality, and testing to find a suitable microcement for exterior use is not a step most homeowners have equipment for.
Professional installers have already run those tests and know which products hold up in Phoenix dry heat versus Miami humidity versus freeze-thaw cycles up north.
If you still want hands-on involvement, some companies offer introductory training courses that let you learn the technique without gambling your kitchen surface on the first try.
That middle path costs more than pure DIY but less than fixing a cracked finish that has to be torn out and redone.
Frequently Asked Questions
Can microcement be used for an outdoor kitchen?
Yes. Sealed with an exterior-grade system, it handles heat, sun, and rain while giving a smooth concrete look with no grout lines.
A certified installer can finish a new build or resurface an existing one at 2–3mm thick without demolition in most cases.
Is microcement heat resistant near a grill?
It tolerates warmth around an outdoor kitchen well, though you should use trivets under hot pans and keep direct flame off the finish. It holds up far better than many alternatives in a cook area.
How do you maintain microcement surfaces?
Wipe counters with a pH-neutral cleaner and reseal periodically with an exterior-grade sealer. With no grout lines, there is nothing to scrub.
What are the benefits of using microcement outdoors?
Microcement is 100% waterproof even before sealers, UV-stable, scratch-resistant, and weather-proof. The smooth surface eliminates grout lines where dirt and moisture accumulate, so cleaning takes less work.
What material is best for an outdoor kitchen countertop?
Microcement is a strong option: it is waterproof, heat-resistant, crack-proof, and scratch-resistant. It is also non-porous, making it impervious to mold and stains, and it works in all climates hot, cold, dry, and humid.
What are the potential downsides of using microcement?
It is prone to cracks if installed incorrectly.
Microcement needs a strong, dry, stable surface to adhere to, and existing cracks in the substrate will telegraph through over time. Poor surface prep or rushing the cure leads to delamination or failure.
Is micro cement 100% waterproof?
Yes.
The microcement recommended for outdoor use is 100% waterproof even before sealers go on. The sealing step outdoors is for UV resistance and stain protection, not for blocking water.